
As you all know it was Felt Day at The Eternal Maker last Saturday and
here, as promised, are the results of our staff felt roll
challenge.......... As expected there were a complete mixture of ideas.
Although, saying that, it was not expected that we would end up with,
amongst other things, a Christmas Cactus and a set of Egg Clothes!
(.......yes that is clothes for eggs!). What really amazed us was how
much you can actually make from one seemingly small felt roll - Millie
managed to squeeze out a fully fledged tea cosy and set of coasters
(more on this later)!
Anyway, as promised we will be posting pictures and tutorials for you all in the coming weeks. In the end we really could not decide a winner so any feedback would be gratefully received. We hope our projects inspire you and if you have ago yourself be sure to show us the results - we love to see what everyone is up to!
First up is newbie staff member Louise with a Purple Haze felt roll............
For my felt roll challenge I wanted to make something unpredictable and settled on a floral garland, perhaps not as unpredictable as I'd have hoped but I love what I ended up with all the same. Initially I wanted to make a bib style necklace with lots of roses bundled together but by the time I'd made them all I changed my mind (typical)! After raking around in my stash I decided to add a couple of additional materials into the mix. For the challenge we were allowed to use up to three additional items so I chose wire and brown floral tape for the base of the garland, and some dark brown leather for the leaves. I think the purple hues from my felt roll mixed with the dark brown gave it an autumnal feel. Although it's all ravelled up on display it does unwrap to just over 7ft of lovely garland! And a bonus, it was SUPER EASY TO MAKE so I'm going to show you how to make the bigger roses and then you can create whatever wonderful crafty goodness you wish!


- 1 Felt Roll
- Matching Thread
- Needle
Step 1
Unravel your felt roll. Each strip measures approximately 10cm X 45cm and you can get roughly three roses out of each colour so all together that's 18 roses! Cutting each strip into 10 X 15cm sections might make things a little easier, take a look at the photo for reference (although my photo doesn't illustrate this very well - sorry!), you'll need a 15cm strip for the rosebud (cut into a similar wiggly shape to the one in the photo) and a selection of petals ranging from small to large

Step 2
Once
you've cut all your shapes out, it's time to sew them! Begin rolling
your rosebud with the skinny end in the centre, adding stitches as you
go to keep it from unrolling.


Once you've rolled it all the way, secure with a knot. Your rosebud should look something like this!

Step 3
Next
up we're adding some petals! You want to sew a continuous line of
stitches all the way around until you get to the last petal so your rose
will be extra-secure! You want each petal to overlap slightly so the
trick is to add a new petal part-way through sewing the previous one.
Start with your shorter petals in the centre, getting larger as you work
towards the outside. I've snapped more photos here for reference.


Once you've sewn all your petals, secure your thread and your rose should look something like this!

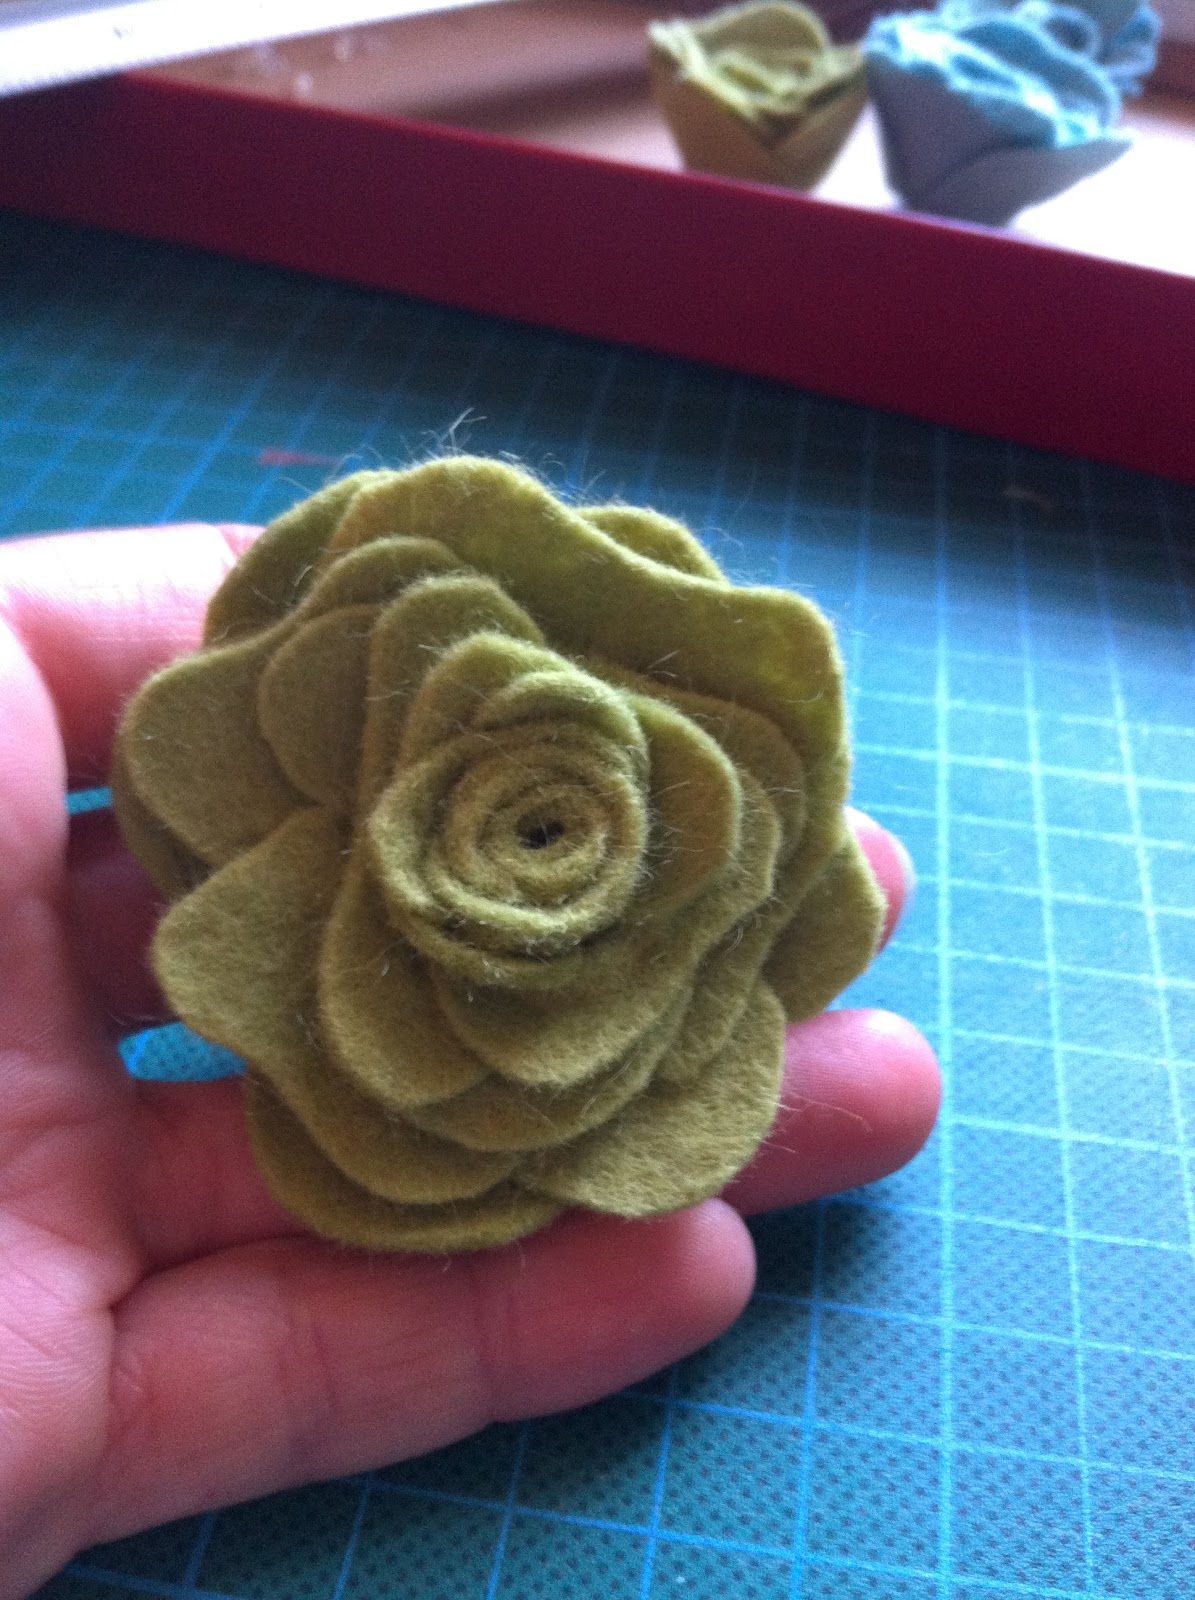


Enjoy!
Louise ♥


1 comment:
Love the garland, absolutely inspiring,
Post a Comment